Description
Accurately mounted axles = Top speed!
In pinewood derby racing, winners and also-rans are often separated by fractions of an inch. Many factors affect performance, some of them in a big way, and some in a small way. The wheel hub to car body gap is one of these small factors that affect performance.
Due to the design of most pinewood derby wheels, it can be difficult to set the proper gap. On many wheels, including BSA, Awana, and Pinecar, the recess of the wheel's sidewall prevents the axle from being fully inserted.
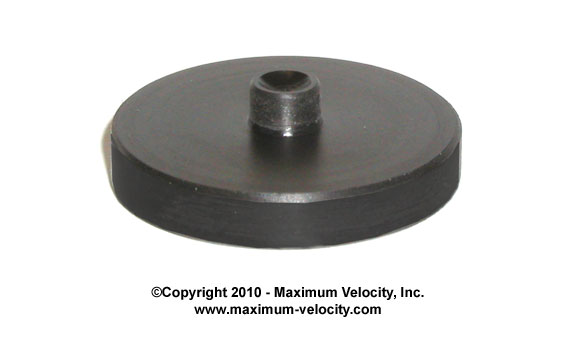
The Axle Install Support solves this issue. The support provides a concave post to support the head of the axle while pressing the axle into place. The Axle Install Support can be used with or without the Pro-Axle Guide.
The instructions below show how to use the Axle Install Support along with the Pro-Axle Guide. However, the Axle Install Support can be used with or without the Pro-Axle Guide. Click on any of the small pictures to view a larger picture.
From Randy:
"I have installed many sets of axles, both on my kid's cars, and on cars at our local workshops. In order to make it easy to insert the axle all the way, I made a protype Axle Install Support. It really simplified inserting axles, so I decided to offer the product to you. I believe you will find this to be a great tool for use with or without the Pro-Axle Guide."
Axle Install Support Usage Instructions
Partially Insert Axle
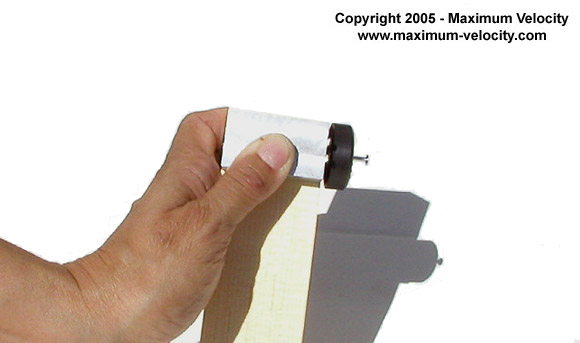
- Kits with Standard Axle Slots - Place the tool on the bottom of the car with the ridge in the axle slot, and the gap gauge positioned over the side of the car body. Partially insert an axle.
- Kits with Axle Holes or Shallow Axle Slots - Partially insert an axle, and then place the flat side of the tool against the bottom of the car, and the gap gauge positioned between the car body and the wheel.
Complete Insertion
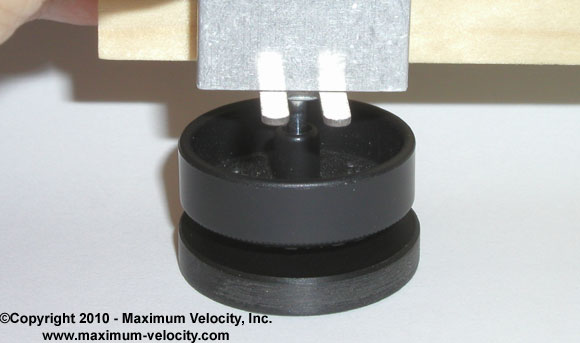
- Place the axle head in the concave recess of the Axle Install Support, firmly hold the Pro-Axle Guide to the wood block, and apply downward pressure on the axle. Continue until the axle will go no further.
- Carefully remove the Pro-Axle Guide and repeat for the other three axles.

