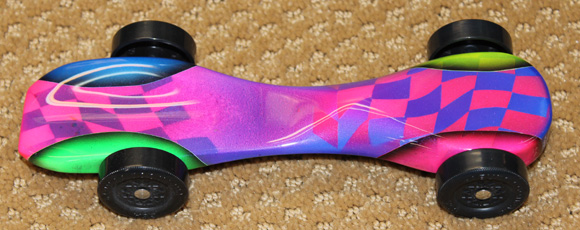
– Feature Article – The Ultimate Finish
– Pinewood Derby Car Showcase
– Q&A
Feature Article
The Ultimate Finish – How to create a beautiful paint job
by Kevin Baugher
(This article was first published January 7, 2004)
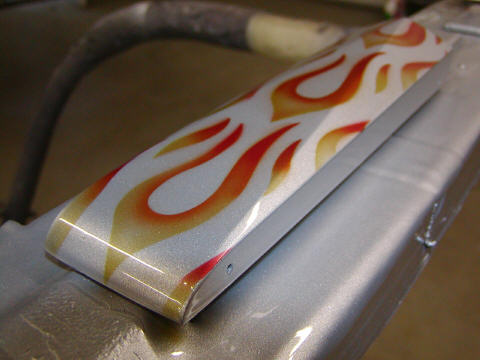
Have you ever seen a pinewood derby car with a paint job that looked like it must have been done by a professional auto painter? Didn’t it look great!? Wouldn’t you like to create a paint job that looked just as good?
Hi, I’m Kevin Baugher, and I used to own and operate an auto collision repair and painting shop.1 In this article I will outline how you can create a professional-looking paint job on your car. It isn’t as difficult as you think!
Sanding
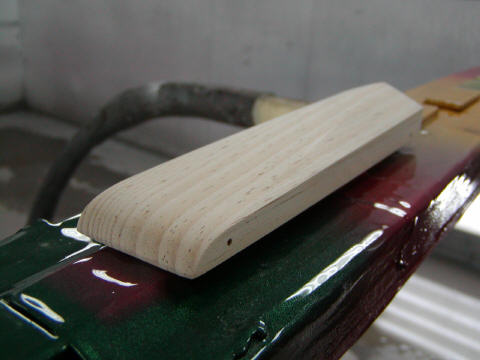
Before painting, complete the shaping of your car, fill any dents with wood filler, and then sand the car. Start with 150 grit, and then progress to 220 grit. If you follow the steps below, you don’t need to use finer grit sandpaper at this point.
Figure 1 – Sanding Complete
Priming
Priming is the key to the paint job!! Don’t skimp on this.
The absolute best primer is a two (or more) part urethane primer used for automobiles. It is thicker than most other primers, so it will fill small surface flaws. It will also seal the wood to prevent the grain from swelling and showing through the paint job.
This product is not readily available in stores, unless you can find a store that sells to auto body shops. Even so, it is quite expensive. So I suggest visiting a local body shop and either ask them to prime your pinewood derby car for you, or ask them to sell you a small quantity of primer. You won’t need more than 4 ounces per car. Make sure to get the two or more parts that make up the primer.
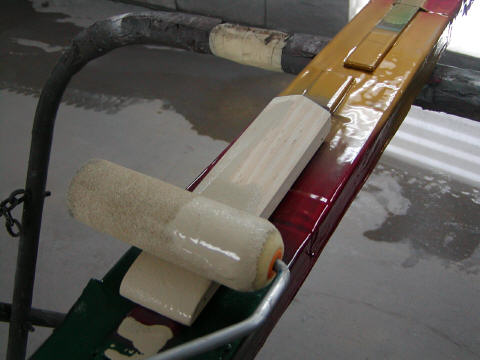
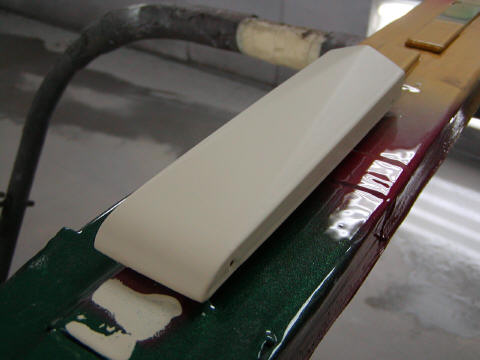
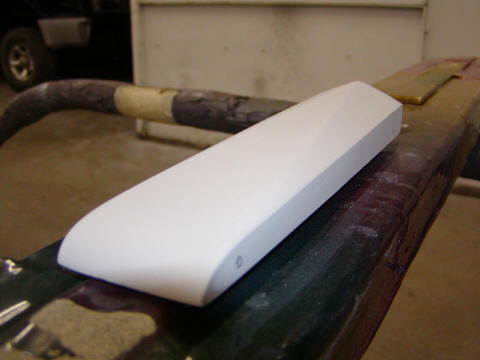
Mix the primer according to the manufacturer’s instructions. You can apply the primer with a foam roller or brush, or it can be sprayed if you have a paint sprayer. Make sure to do the priming in an area free of dust and wind! Apply 4 to 5 coats, waiting 5 minutes between coats (do not sand between coats). After all the coats are applied, let the car dry overnight.2
Figure 2 – Priming with a roller
Figure 3 – Priming CompleteTracer Coat
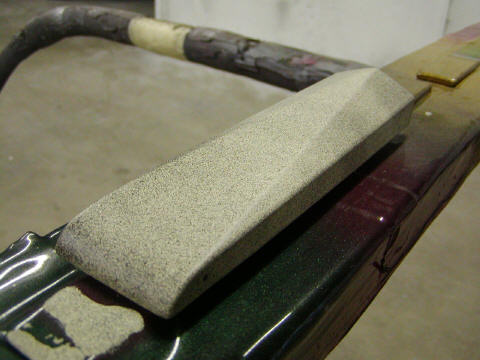
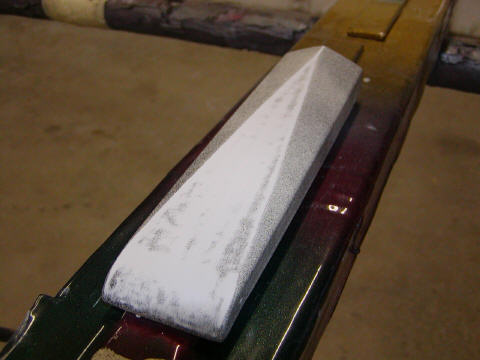
The next step is to sand the primer. But to make sure that it is sanded evenly, mist some spray paint on the car. This “tracer coat” will help you get the entire car properly sanded. This is the same technique used by professional auto painters, so don’t skip it!
Figure 4 – The Tracer Coat
Sand the tracer coat/primer with 320 grit dry sandpaper until most of the tracer coat is gone. But don’t be too aggressive; if you see any wood at the edges of car you will have to re-prime it and repeat the sanding step again.
Figure 5 – Sanding the Tracer Coat
Next, sand with 400 or 600 grit wet paper. Note that I don’t paint the underside of the car.3 If you don’t either, then don’t get the bottom of the car too wet.
Continue sanding until none of the tracer coat remains.
Figure 6 – Ready to Base CoatBase Coat
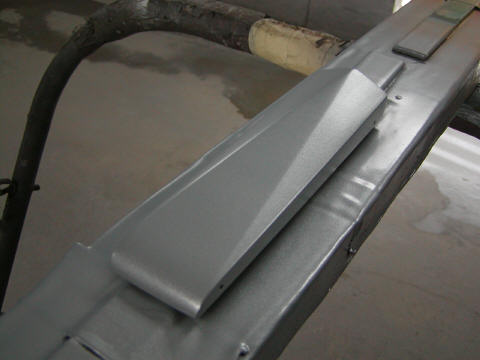
Now apply a “base coat”, that is, the primary color for your car. Some auto parts store carry automotive spray paint such as Dupli-Color. Just don’t use enamel paints.
Apply two to three coats of the base color, allowing the car to dry to touch between coats (typically about 30 minutes). You do not need to sand between base coats unless some dirt or dust settles on the paint.
Figure 7 – Base Coats
Clear Coat
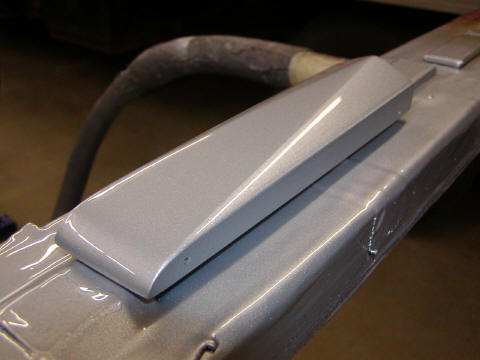
To seal the paint and give the car a deep shine, apply a “clear coat”. Use a clear coat that is compatible with the base coat. The clear coat can be applied right after the base coat dries to touch. Give the first clear coat 10 minutes or so to dry, and then apply a second clear coat.
Figure 8 – Clear Coats
Add Some Pizzazz
If you like a challenge, buy an inexpensive air brush and a few stencils from your local craft store.4 In the photos, I used the airbrush after the clear coats, so I had to sand the car with 1000 grit wet paper. You can air brush right on top of the base coat, and then apply the clear coats. However, if you clear coat first, then if you make a mistake with the airbrush, you can wipe it off with a weak solvent.
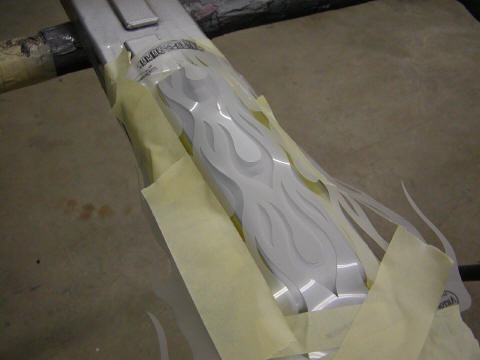
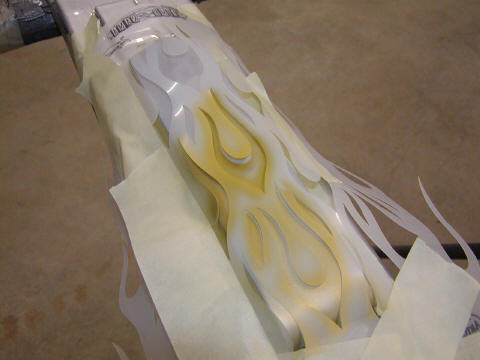
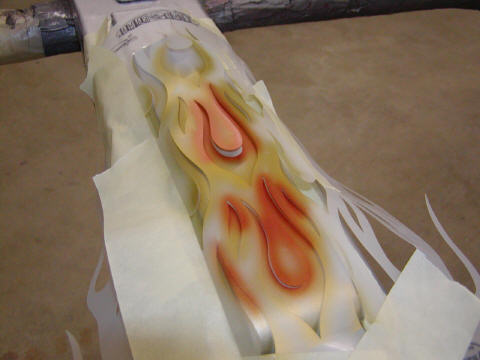
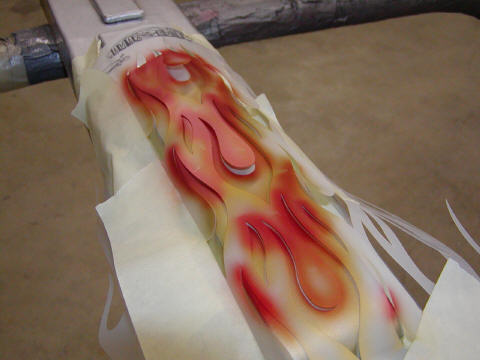
Tape the stencil over the car, and then spray on some paint. The secret of airbrushing is to just spray a little around the edge of the stencil. Don’t be afraid to apply more than one color!
Figure 9 – Stencil on Car
Figure 10 – First Color
Figure 11 – Second Color
Figure 12 – Third Color
Don’t forget to clear coat again after airbrushing.
Conclusions
You too can create a paint job like an expert! Just make sure to get the right primer, take your time, and marvel at the results.
Figure 13 – Final Results
1Kevin now owns Liquid Illusions, LLC.
2Urethane auto primer is certainly the best choice. But if you can’t find it, try Rust-oleum Filler Primer (Hi-Build Formulation) which is sold at most auto part stores.
3Why don’t I paint the underside? I once made a toy car for my son from cardboard for a school project. The paint job was applied just as described in this article. When I took it to school, the teacher told me it wasn’t allowed because it wasn’t made from cardboard (she thought it was made of plastic or metal). I told her that it was made from cardboard, but she didn’t believe me until I turned the car over to show her some unpainted cardboard! Ever since then, I don’t paint the underside of pinewood derby cars.
4Maximum Velocity offers paint stencils which can be used with a brush, air-brush, or with spray paint.
Pinewood Derby Car Showcase
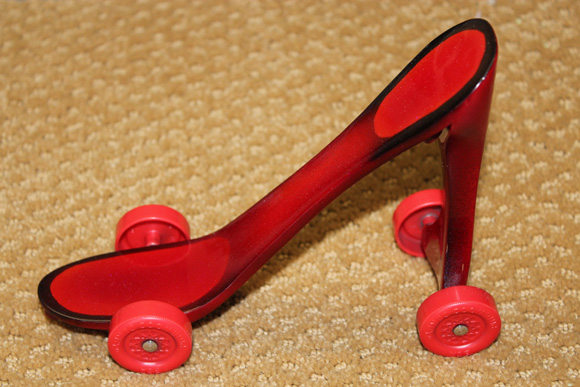
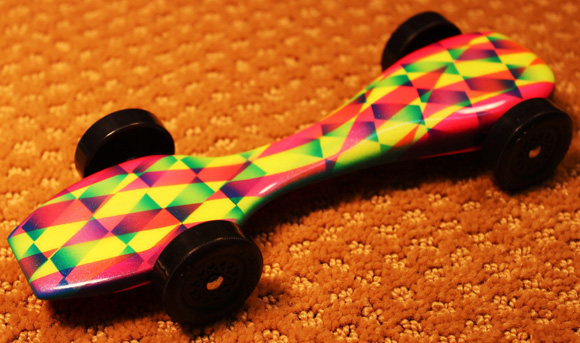
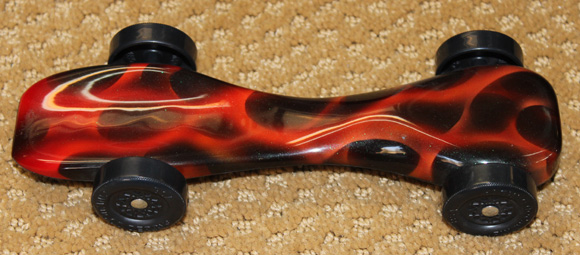
After reading the article on nice paint jobs, you might enjoy these cars from Jack Walter. He has a different way of painting, but I’m sure there are many ways to successfully paint a car.
I enjoyed reading the article Height of Weight Versus Performance. Being a mechanical engineer with a tendency of OCD on math, the results of your experiment are to a degree surprising. Attached is a picture of Mom’s car that we built specifically to answer the height/weight performance question. Will it work? We are not exactly sure, but at least Mom will have her own ride to jump and shout about.
Mom’s Car
Three more beautiful paint jobs – Cars are owned by Justin, JT, and Jack
Here is Jack’s recipe for a great paint job:
Creating an incredible paint job starts with the wood. We cut the body with a band saw and shape with a band sander with 60 grit. From there we start with 100 grit and gradually work to 1000 grit. Yes 100-200-400-800 to 1000 grit. Take your time. This seem to be the best way to prepare the car for paint.
Painting can be done with a low cost airbrush from Harbor Freight. We apply primer coats, base coats and clear coats. We do add metallic into the clear coat to get the color shifting effects and sparkle. It can not be stressed enough: too much paint can ruin all your work. Fog (light coat) the paint on, take a break and come back to fog it on again.
Paint Steps
- Apply three layers of primer – let dry between coats.
- Sand with 1000 grit paper.
- Apply the main color.
- We use a hobby painting mask sheet to cut our own patterns. Apply the mask pattern and start adding colors.
- Apply a clear coat.
Voila, you have a show quality car! By painting both the top and bottom of the car we eliminate the effect of humidity absorbing into the wood.
A hint on the airbrush: we always have a practice box sitting by the car to paint on. This gives you a chance to practice and play. Remember, when actually painting the car just apply a fog coat of each color. Take your time, less paint is best, Good LUCK!!
Q&A
We went to finals last year and lost to a rail rider. Would you suggest that type of set up? If so what products do you sell for that?
Generally rail-riding alignment will provide more speed than straight alignment. To implement rail-riding you need a way to bend axles accurately, and rotate the axles to achieve the desired alignment.
For bending you would use one of the following:
- 5130-Pro-Axle Press and 5147-Pro-Rail Rider tools (they work together), or
- 5198-Pro-Axle Bender (nicer solution, but more expensive).
For rotating, you use the 5136-Axle Extraction Pliers.
We also offer pre-polished and pre-bent axles for Rail-Riding.
Is your 5101 Axle Polish intended only for axles that come with no imperfections? Or is there also a benefit to use the product on standard pinewood derby axles that have been filed, sanded and polished with diamond polish?
The best way to polish axles is with our 5100-Axle Polishing Kit, followed by the 5107-Diamond Polish. The Axle Polishing Kit finishes at 3 micron, and the Diamond Polish finishes at 1 micron.
This is of course somewhat time consuming. A faster way to polish and get a reasonable job (but not as nice as the above) is to use the Axle Polish. It polishes to about 4 micron. So don’t use the Axle Polish after using the Axle Polishing Kit or the Diamond Polish.
Want Answers?
Do you have a pinewood derby-related question? If so, e-mail us your question.We answer all questions by e-mail, but not every question will appear in the Q&A section of the newsletter.
Back Issues
Are you a new subscriber, or have you missed some of the previous newsletters? Don’t miss out; all of the issues for Volume 5 through Volume 17 are posted on our web site.
Newsletter Contributions
We welcome your contributions. If you would like to contribute an article, a web site review, a speed tip, or a pinewood derby memory, please e-mail us.
Subscription Information
The Pinewood Derby Times is a free e-newsletter focused on pinewood derby racing. It is published biweekly from October through March.
If you haven’t already done so, please forward this issue to your pinewood derby friends. But please don’t subscribe your friends. Let them decide for themselves. Thanks.
If this newsletter was forwarded to you, why not subscribe to receive this newsletter. There is no cost, and your e-mail address is safe, as we never sell or share our distribution list.
To subscribe, send a blank e-mail to
[email protected]
You will receive a confirmation e-mail. Reply to the confirmation e-mail and you will start receiving the Pinewood Derby Times with the next issue.
Randy Davis, Editor, Pinewood Derby Times
E-Mail: [email protected]
(C)2018, Maximum Velocity, Inc. All rights reserved. Please do not reprint or place this newsletter on your web site without explicit permission. However, if you like this newsletter we grant permission, and encourage you to e-mail it to a friend.
Maximum Velocity disclaims any personal loss or liability caused by utilization of any information presented in this newsletter.
The Pinewood Derby Times is not specific to, and is not affiliated with the Boy Scouts of America, YMCA, Awana, or any other organization.
(R)Maximum Velocity is a registered trademark of Maximum Velocity, Inc.
(R)Pinewood Derby is a registered trademarks of the Boys Scouts of America.
(R)Awana is a registered trademark of Awana Clubs International.
All other names are trademarks of their respective owners.

