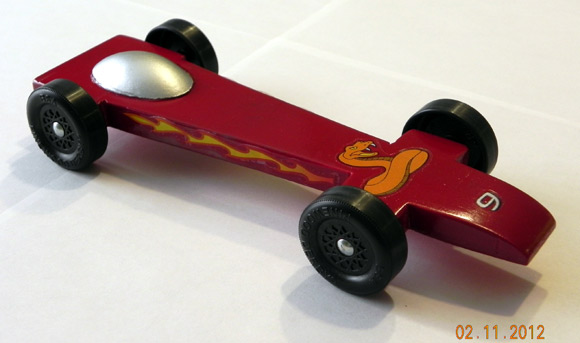
Standard Wedge SE


Extended Wedge SE
 Standard Wedge SE |

|
 Extended Wedge SE |
|
Editor's Notes Triangular Tungsten Canopy 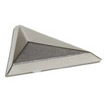 We now have another exciting product to share with you, a Triangular Tungsten Canopy. Our Triangular Tungsten Canopy weighs 2.5 ounces, and easily mounts on your car with a 3/8 inch diameter stud. You can read more and order Here We now have another exciting product to share with you, a Triangular Tungsten Canopy. Our Triangular Tungsten Canopy weighs 2.5 ounces, and easily mounts on your car with a 3/8 inch diameter stud. You can read more and order Here
 
If you are planning a race and are not required to use a specific kit type, our MV Basic or Wedge Car Kit are just what you need. These attractively priced kits are equipped with:
|
|
|
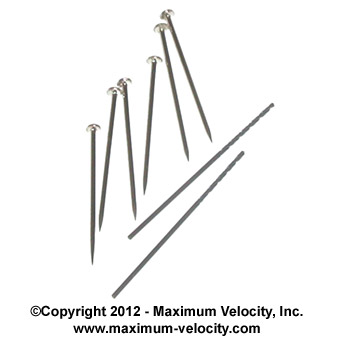
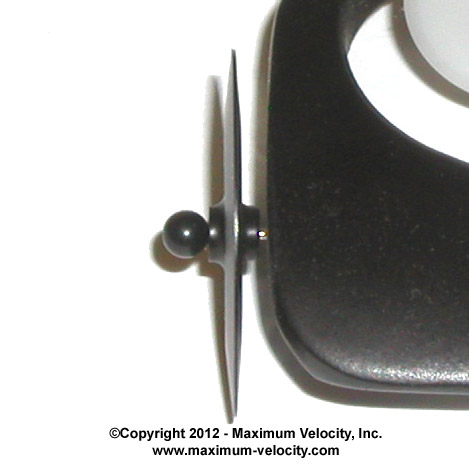
Polish the axles with Axle Polish (part 5101), or use the two finest papers in our Axle Polishing Kit (part 5100). If desired, Diamond Polish (part 5107) can be used for a final high shine.
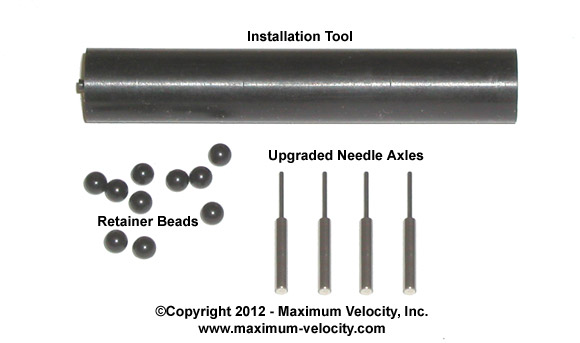
Select four beads that fit tightly onto the axle shafts (extras are supplied). If you don't want black beads, then purchase beaded pins from a craft store. Remove the beads, and finish drilling the hole through the bead with a #66 drill bit.
Prepare the axle hole or slot by reaming with a #44 drill bit.
Press each axle into place using the installation tool.
Apply lube to an axle; we recommend Kryox 100 (part 5106).
Place a wheel onto the axle with the dish-side of the wheel facing the car body.
Press a bead onto the axle shaft. Use a gap gauge to set the distance between the car body and the wheel. No glue is required for the bead.
Repeat steps 5 to 7 for the other three wheels.
To remove the wheels, grasp the retaining bead with a pair of pliers, then twist and pull.

|
Needle Axle Upgrade: 10% Off |

|
Top Performance - Axles are precision-machined from stainless steel to provide excellent precision in all dimensions for smooth, fast, and straight runs.
Less Flex - The steel material is harder than the regular needle axles to minimize undesirable flexing.
Easier Installation - No need to drill tiny holes for the needle axles. These axles fit into standard axle slots or holes (drilled with a #44 drill bit). The installation tool is used to press them into place.
Easy Cleaning and Re-lubing - The retainer beads can be easily removed to allowing cleaning and re-lubing of the wheels and axles.
