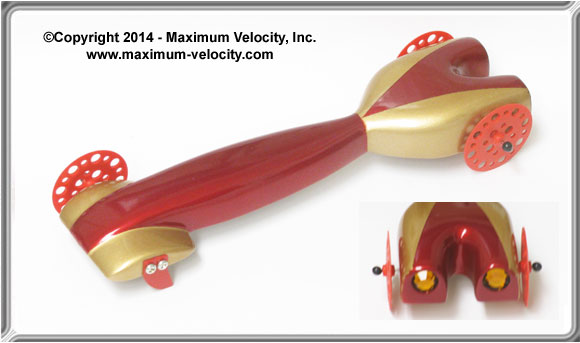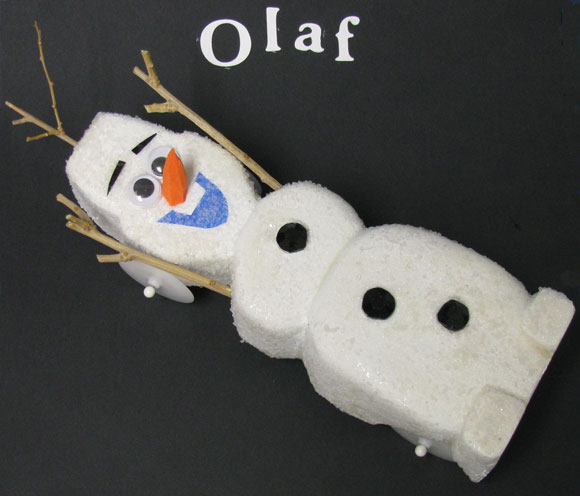
Vaccinator


Vaccinator
 Vaccinator |

|
 Vaccinator |
|
Editor's Notes
3.5 Ounce Tungsten Canopies 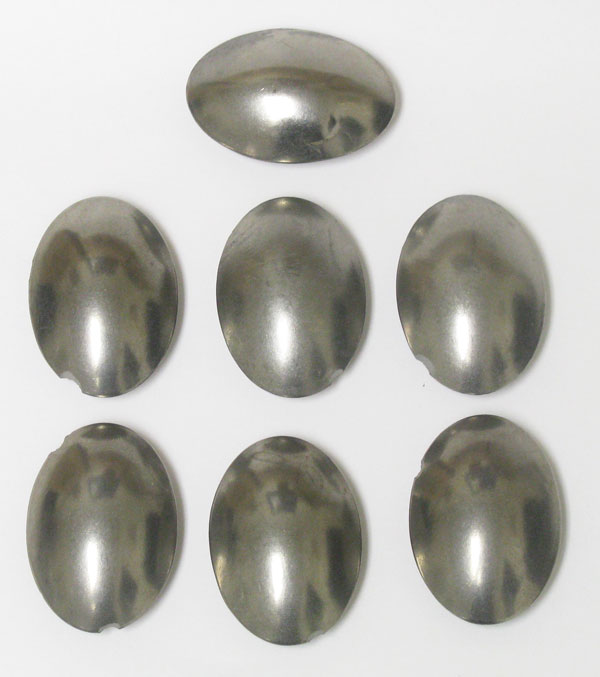
Adjustable Tungsten Round 
Please include your full name. If selected, we will include the photo and description in this newsletter. Photos must be sent by e-mail in JPG format (minimum size of 640x480, maximum size of 1280 x 960). Please shoot photos from the front left of the car, similar to the orientation of car shown at: 
For better focus, keep the camera four or five feet away from the car, and then use the camera's zoom to fill the frame with the car. Also, use a solid (preferably white) background for the photo. Send only one photo per car, unless an additional photo is needed to adequately show a feature. Thanks. |
|
 
If you are planning a race and are not required to use a specific kit type, our MV Basic or Wedge Car Kit are just what you need. These attractively priced kits are equipped with:
|
For 3-wheel cars, the raised wheel stays static, which maintains the advantage of raising a wheel.
The heavily loaded rear wheels stay off the rail, minimizing guide rail losses.
Since the car follows the guide rail, it maintains the straightest possible path down the track (as opposed to zigzagging back and forth along the guide rail - a longer path down the track).
On cars that have a very aggressive balance point, sometimes the front wheel is too lightly loaded to steer the car. The car begins rear wheel steering, and rapidly zigzags back and forth along the guide rail (the "death rattle"). By maintaining contact between the front dominant wheel and the guide rail the risk of a death rattle is minimized.
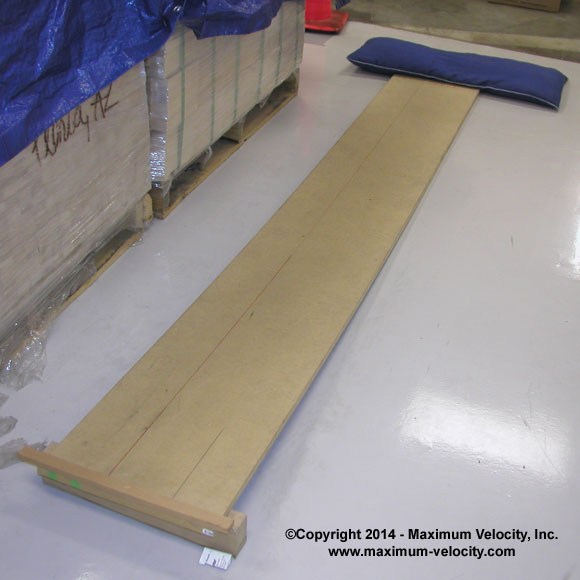
Create a test Board
A test board is basically a particle board or MDF shelf, eight feet
long by 1-1/2 to 2 feet wide. The board is propped up on one end about
3 to 4 inches (a 2x4 works well), and a pillow is placed at the
downhill end. A line is struck down the center of the board, and the
board is leveled side to side by rolling a ball (billiard ball,
racquetball or large marble) down the track. Use shims of wood or
paper to level the board so that the ball follows the centerline.
Bend the front dominant axle
Before inserting the axle into the car, place a 1.5 degree bend in the
dominant front axle using a Pro-Rail Rider Tool or a Pro-Axle
Bender.4 Slide the wheel onto the axle and lubricate thoroughly.
Then install the wheel/axle onto the car with the bend up or down (see
"Other Considerations" below).
Test and adjust
Place the car at the uphill end of the test board and align the edge
of the car with the center line (actually I found it is best to make a
new line towards the side of the board opposite the desired direction
of the car). Make sure to place the car exactly even with the line for
each test - a slight difference in placement will make a big
difference in accuracy. Let the car roll and note the amount and
direction of the drift. Slightly rotate the axle by grasping the axle
head with a pair of Axle Extraction Pliers and retest. Continue
testing and adjusting until the car has a drift of 5 inches over 8
feet, drifting towards the non-dominant wheel.
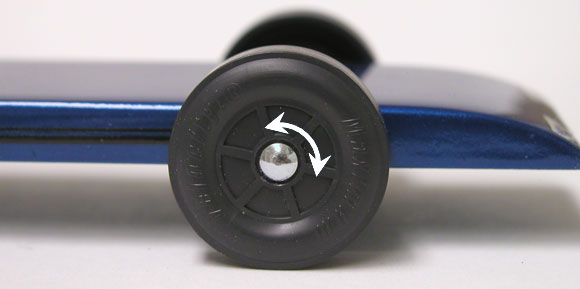
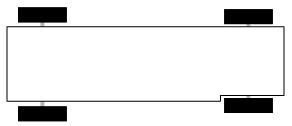
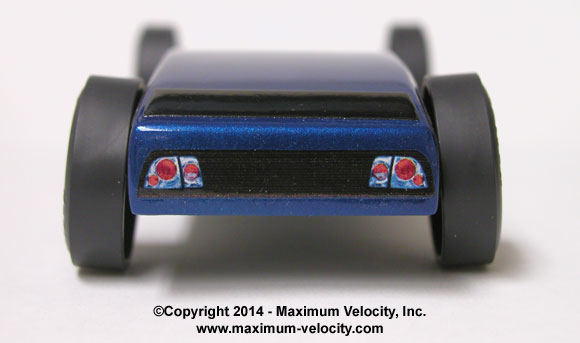
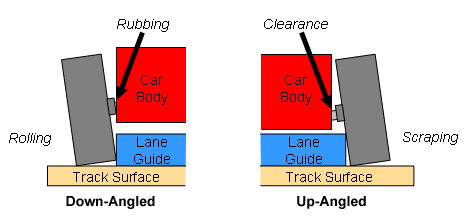
If axle holes are drilled, they must be drilled accurately. Next, if the front dominant wheel is angled downward, then the rear wheels will be slightly toed-in resulting in binding friction. So, with angled rear holes, angle the front dominant wheel upward (same direction as the rear wheels).
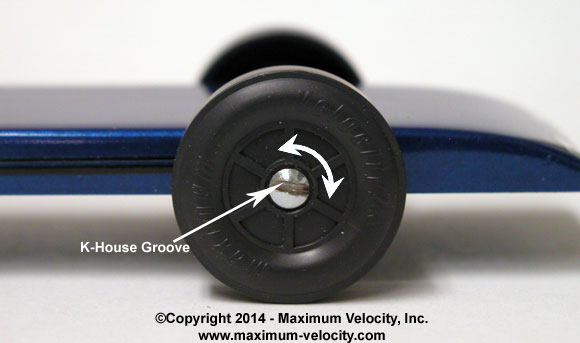
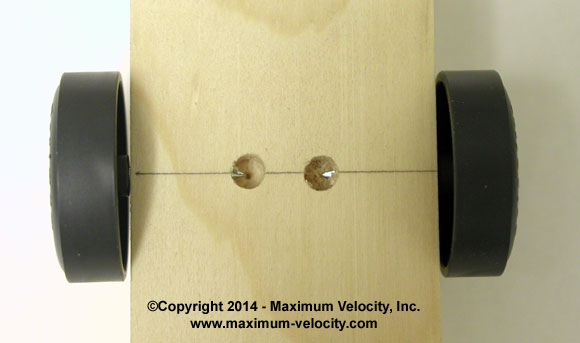
If axles are bent, then the rear wheels must be aligned to each other. This is done by rolling the car back and forth and watching the movement of the wheels - in and out. The wheels should stay on the axle heads regardless of the direction of the car. If a wheel moves towards the car body, the axle head must be slightly rotated to correct the problem.

|
Pro-Axle Bender 10% off |

|
